Last week, I was working on a custom size Elena bracelet for one of my customers and I documented the entire process. I often take photos of different parts of the making process and share them on IG stories, but I made sure to capture every single step this time.
This custom made Elena bracelet has a different number of links to accommodate a wider wrist. All our jewellery is made by hand in our studio in London, so we can make adjustments on almost anything and ensure that every piece fits perfectly.
See the photos of the process below and do get in touch if you were considering buying of our pieces, but were unsure of the fit or sizing. We are here to help 🖤


Here, I am piercing (cutting with a jeweller's saw) all the internal layers out. Below you can see me piercing the links out.


Once all links are pierced, I buff them with two grades of emery paper and then file the edges with a rubber wheel. This is an important step, because piercing leaves marks, that need to be smoothed out before polishing.

Now that we have all links smooth and pre-polished, I start soldering.


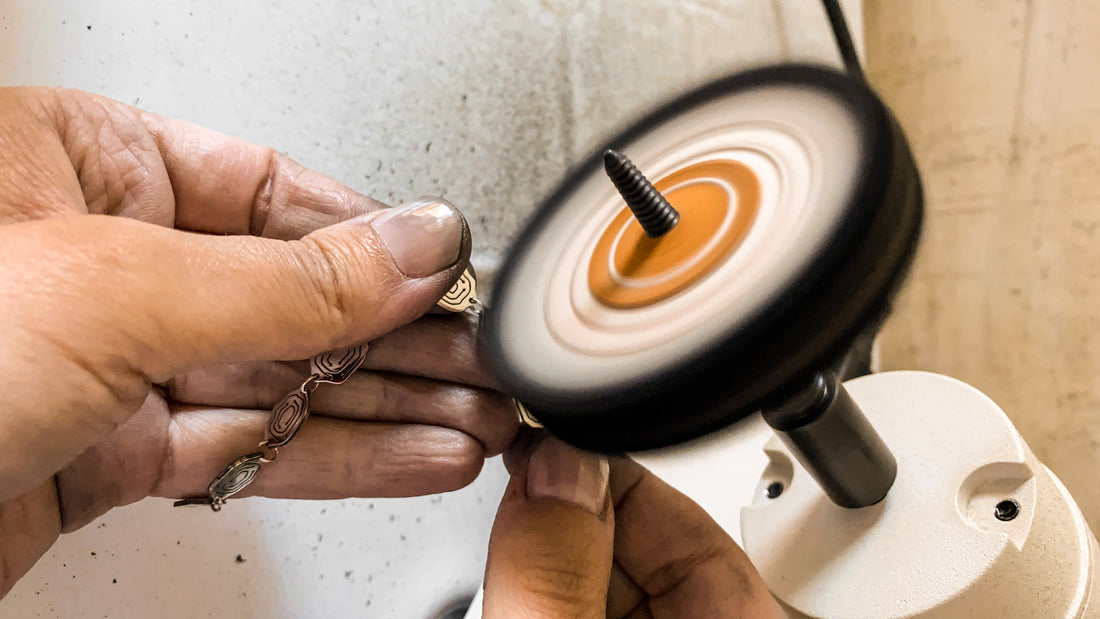
Once the bracelet is soldered together, I polish it twice. First time, I polish both sides with a cutting compound, that gets all file marks and fine scratches out of the metal. Then, I expand the flat links into my signature, layered volume. For the second round of polishing, I use a very fine compound that gives the metal a mirror shine and gloss.

And now we are ready! It takes around 7-8 hours to make Elena bracelet from start to finish. It is made of lots of small links, which makes the process longer in comparison with some other bracelets or cuffs. Starting the day with a flat sheet of silver and finishing it with a shiny bracelet is so amazing and I really enjoy the entire process.
I hope you enjoyed our studio session together!
Until next time,
Kay x
Don't forget to register for our newsletter to receive 10% off you entire first order.
Click here to sign up

